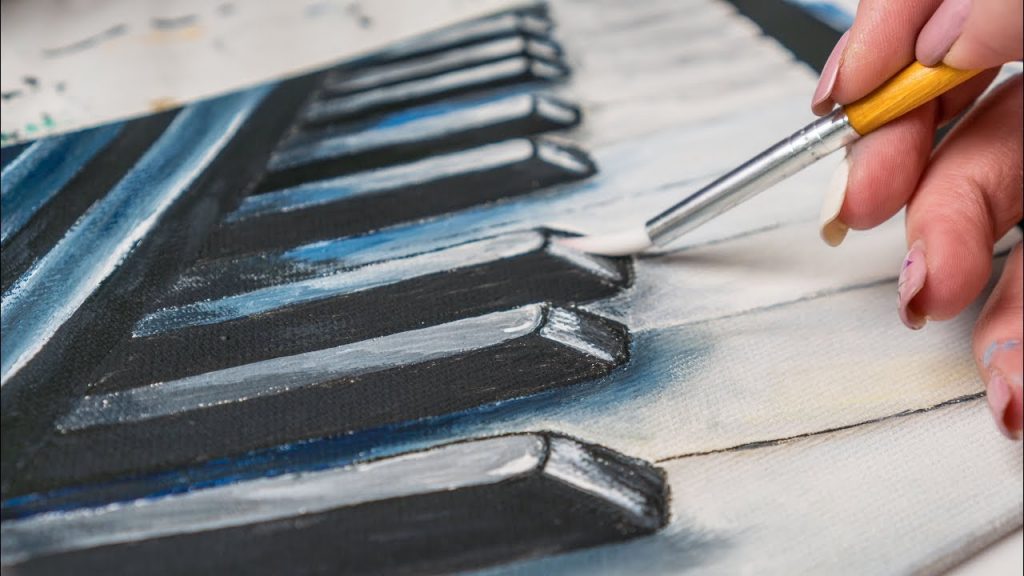
So, can you paint a digital piano? The simple answer is yes. When creating a digital piano, manufacturers normally focus on the sound, keyboard action, and the overall performance of the instrument. As a result, they end up paying little to no attention to the piano’s color.
Thus, you can easily find an instrument that matches your functionality needs but doesn’t compliment your décor.
However, it’s not easy to paint a digital piano, as it requires several considerations before getting started. Here, we’ll look at how to paint a digital piano in a safe and effective way.
What You’ll Need
- Owner’s Manual
- Tools for Disassembling and Assembling the piano
- Tarp, Plastic Baggies, and old Newspapers
- Painter’s Tape
- Primer
- Your Paint of Choice
- Clear Lacquer – to prevent paint from chipping
How to Paint a Digital Piano – Step-by-Step Guide
1. Disassemble the Instrument

It’s obvious that you don’t want to paint any operational parts of your digital piano. Therefore, disassembling it should be the first step to painting the instrument.
Start by removing all the knobs and dials, and you can photograph each step for your reference when reassembling the instrument. You can place different parts in different plastic baggies so that you don’t mix them up.
Ensure that you also detach any wires (appropriately), and finally remove the instrument’s hardware.
2. Apply the Primer

Before applying the primer, first ensure that you thoroughly clean your instrument’s surfaces. If the dust is minimal, you can simply use a damp cloth to clean the piano. This ensures that the surfaces of the piano are equally level for better painting.
After cleaning your digital piano’s surfaces, give it enough time to dry before applying the primer. Once completely dry, lay down the old newspapers or tarp around and beneath the painting surfaces.
Use the painter’s tape to cover up the areas that you don’t want to paint. Afterward, apply the first coating of the primer, and make sure that it’s a thin and even coat. Once it has fully dried, apply the second primer coat in the same manner as the first and allow it to dry as well.
Ensure that you are in a well ventilated area or space during this whole primer application process.
3. Paint Your Digital Piano

Finally, it’s time to paint your digital piano. Like the primer, start by applying thin layers of paint simultaneously. This approach helps you avoid tackiness and paint imperfections, something we assume you don’t want.
Afterward, allow the paint to fully dry before adding another layer of paint to the surfaces. Again, allow the coat to dry and you can even lightly sand between the coats after a 24-hour period to achieve level coating.
4. Apply the Lacquer

Once you are through with painting your digital piano, you need to apply the lacquer before reassembling your instrument. Use thin coats of the lacquer and apply as many coats as you may need on the painted surfaces.
The lacquer prevents the paint from chipping and enhances its durability. Finally, ensure that the lacquer completely dries before reassembling the components of your instrument.
5. Reassemble Your Digital Piano

This is where you’ll need the owner’s manual to refer to the manufacturer’s instruction on reassembling your instrument. You can also refer to the photos you took when disassembling the piano – that is if you took any.
Once you appropriately put your instrument back together, you can now enjoy your new and beautiful painting job.
ALSO READ: Can I Put a Digital Piano in Front of a Radiator?
Does Painting a Piano Ruin It?
Paint can add a stunning look to furniture and other items around your home, but it’s not always the best choice for what you want. Whether or not you should paint a digital piano depends on many factors.
It is important to remember that even if painted, pianos are still delicate instruments with moving parts and will need care and maintenance just like non-painted pianos do.
Painting obscures some of the areas where damage may be happening inside the piano. This may include behind keys, which could lead to greater expensive repairs down the road.
Also, painting reduces resale value because most buyers prefer original finishes over repaints unless done by professionals who know how to get rid of all traces so there aren’t any problems with peeling or flaking. Lastly, it is even more important to keep the piano clean when painted because there are no nooks and crannies for dirt particles to hide in.
So, what should you do if your digital piano needs a little pick me up? Pianos that have seen tough times can benefit from sprucing up with some fresh paint.
Professional restoration shops know how to properly apply finishes. So they don’t peel away easily to give them that perfect look. If you aren’t sure whether painting your piano is right, consider consulting an expert first.
What Kind of Paint Do You Use on a Piano?
Several types of paint can be used on pianos, though you should always use specialty paints designed to adhere to the surface. That said, your approach will depend on how much work is needed. And whether the piano already has a finish or not.
Pianos without proper finishing, but need re-coating can be painted with just about any type of paint. However, you should test your approach first to make sure the new coat will work well over the old one and adhere properly.
If a piano has an existing finish, it would be best for you to use specialty paints designed specifically for pianos.
This is especially true if they are lacquered or shellacked as these types of finishes respond better to traditional oil based approaches.
Again though, before you begin check out the condition of the current layer(s) so that you know what kind of prep work needs to be done beforehand!
Some of the ideal paints to use on a piano include:
- Oil-based paint
- Varnish
- Lacquer
- Shellac
Conclusion
The bottom line is that you should paint your digital piano if you are unhappy with the color. There are plenty of options to choose from. But, ensure that you have some experience painting before attempting it yourself! Alternatively, you can consult an expert or hire a professional painter to do the work for you.


